In the Profiles tool, you can control which Layers, Tabs, and Viewports a group of users has access to within Fundraiser Performance Management. Essentially, a Profile is a set of default access rights that allow you to control what users have access to within the Platform rather than having to update each user record.
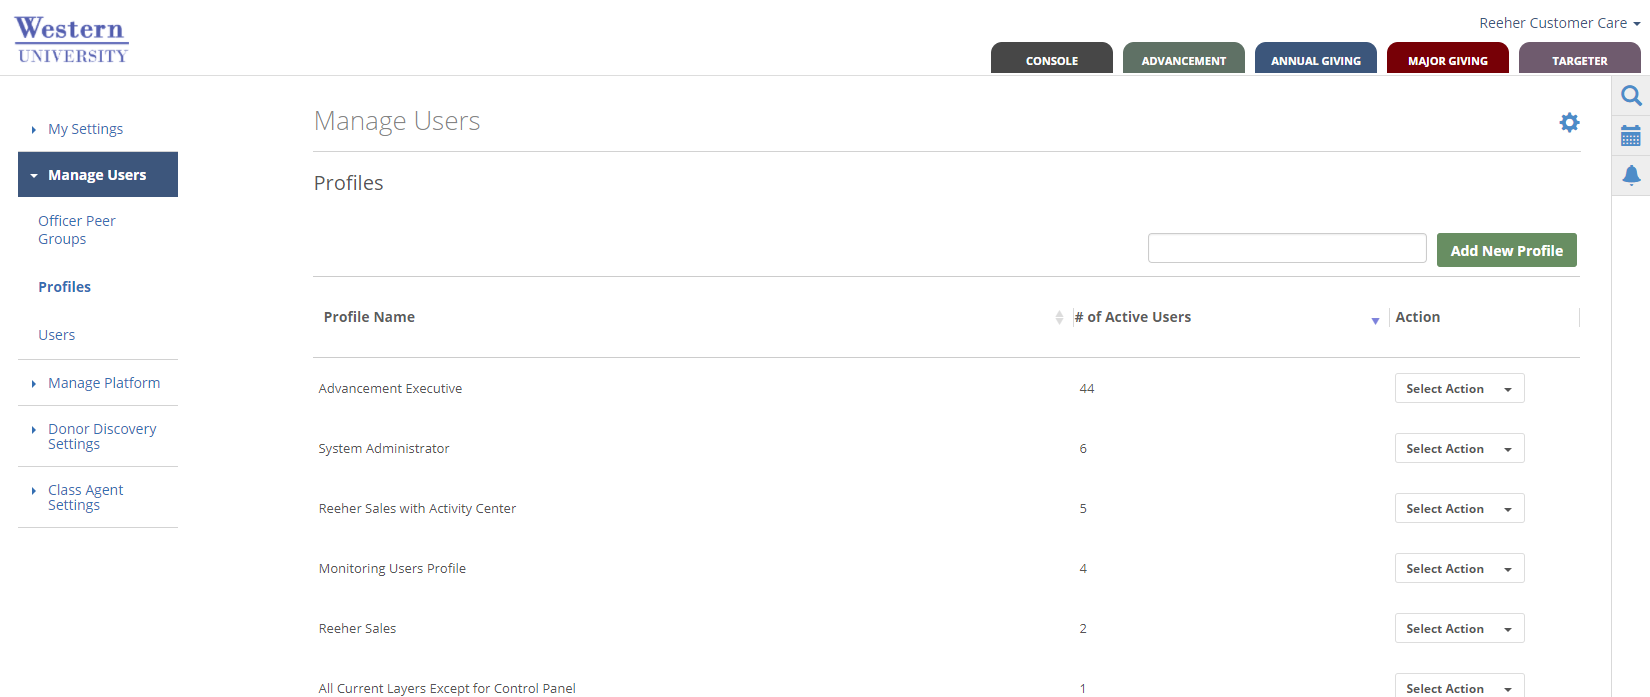
The Profiles tool allows you to do three things. It allows you to create a new Profile, edit an existing Profile, and manage the accessible and default Viewports for the users in each Profile.
How do I create a new Profile?
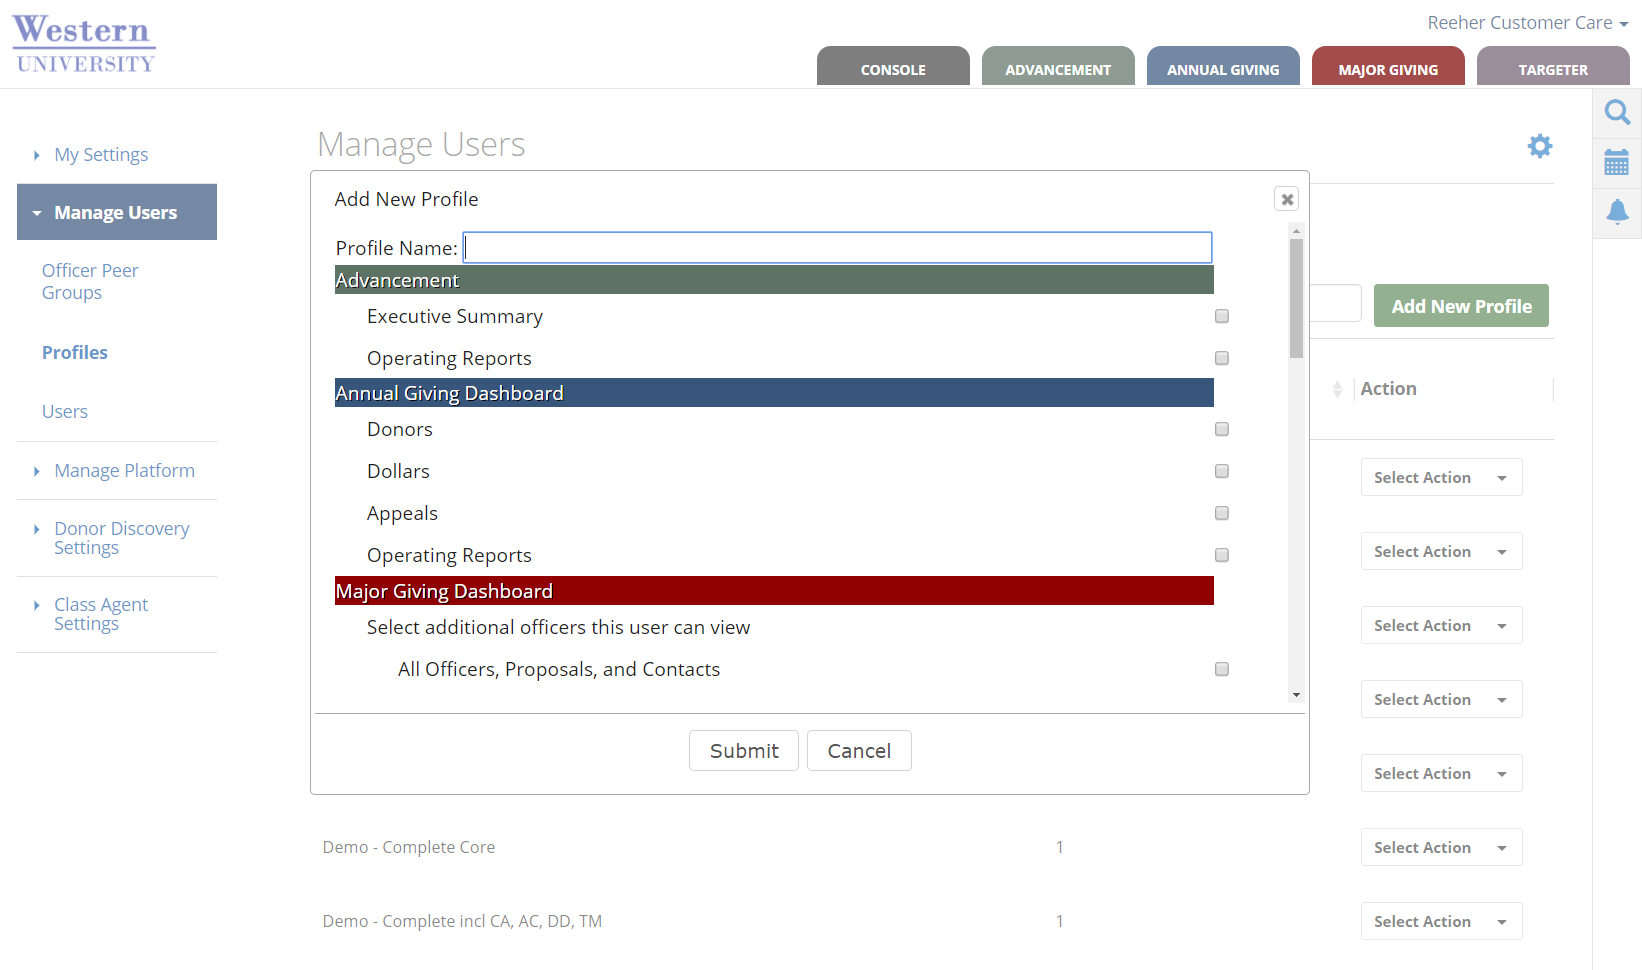
Within the Profiles tool (found in Control Panel within the Manage Users Tab) click on the Add New Profile button. This will open a dialogue box that allows you to create a new Profile. Enter a name of the Profile in the text box called Profile Name and then select the Layers and/or Tabs you would like the users assigned to this Profile to have access to. If you select a Tab (i.e. Donors, Dollars, Officer Performance, etc.) within a Layer it will automatically give the user access to the Layer the Tab is under. In order to create a Profile you must provide it with access to at least one Layer or Tab. Click on the Submit button in order to complete the process of creating a New Profile.
Any user you assign to this Profile will now automatically be given access to the Layers and Tabs selected for this Profile.
How do I manage Layer and Tab access for users within a Profile?
Within the Profiles tool (found in Control Panel within the Manage Users Tab) click on the Select Action drop down next to the Profile you wish to edit and select Edit Profile. This will open the Edit Profile dialogue box that allows you to add or remove Tab or Layer access to the Profile. If you wish to provide access to all users related to the Profile then select the Tab or Layer check box and click Submit. If you wish to remove access to a Tab or Layer for all users related to the Profile then un-check the box and click Submit.
How do I manage viewports for users within a Profile?
Within the Profiles tool (found in Control Panel within the Manage Users Tab) click on the Select Action drop down next to the Profile you wish to edit and select Edit Viewports. This will open the Edit Profile Viewports dialogue box that allows you to select which Viewports are accessible for each Profile and which Viewports should be the Profile’s default Viewports when they first view the reporting Tab within the Annual Giving or Major Giving Layers.
Within the Edit Profile dialogue box you will only see the reporting Tabs that the Profile has access to. You need to first provide a Profile with access to the reporting Tab before you can manage the Viewports for the users in the Profile.
Click on the name of the Tab to expand the table and see the Viewport names that are available for each Tab. By default all Viewports are accessible for all users within the Profile and the Platform has pre-selected defaults for each reporting Tab. Click on the name of the Profile to learn more about the individual Viewport. By clicking on the name of the Viewport you will be taken to our online help, which describes the Viewport and displays an image of the Viewport.
With the Viewport table expanded you can click the check box under the Is Accessible column to make it available for all users within the Profile or un-check the box to remove access for all users within the Profile. In addition, you can check the check box under the Is Default column to define which Viewports should appear by default for each user in the Profile. Six Viewports for each reporting Tab must be selected. Each user has the ability to change which six Viewports they see within the report Tab for themselves by swapping out the defaults you’ve selected with one of the other Viewports you made accessible to the Profile.
Click on the Submit button to save all the Viewport changes you’ve made to the Profile.
How do I manage columns for users within a Profile?
Within the Profiles tool (found in Control Panel within the Manage Users Tab) click on the Select Action drop down next to the Profile you wish to edit and select Edit Columns. This will open the Edit Profile Columns dialogue box that allows you to select which Columns are accessible for each Profile.
You can click the check box under the Enable Column column to make it available for all users within the Profile or un-check the box to remove access for all users within the Profile.
Click on the Submit button to save all the Column changes you’ve made to the Profile.